The first time I ate a chapati was in Mysore, India and it felt very familiar. I grew up in New Mexico on my grandma's flour tortillas which we used instead of a spoon to eat pinto beans and chile. I was really struggling on my first trip to India and those chapatis helped me feel at home. I later took a cooking class with Tina in Mysore and I remember being very impressed at how simple they were to make and delicious! I attempted my own chapatis, only to yield crackers that were nothing like the fluffy pillows Tina had taught us to make. I gave up for some time, focusing instead on homemade dosas. I was also gluten-free for a few years, so chapatis weren't on my mind...until recently.
I decided to give chapati making another go. The first time, the dough was too dry, but the chapatis came out alright. After that, they keep getting better and better!
You'll need:
2 cups Wheat flour
1 cup water
salt to taste
rolling pin
pan
oil
Make the dough:
Combine ingredients
Knead dough
Set aside
Time to make the chapatis:
Dust a little flour on your rolling surface. Heat oil in pan. You know it is hot enough when you sprinkle water on the pan and it pops.


Gently press ball into disc shape.

Roll out dough.

For some reason, it seems to be helpful to turn the dough between rolls.

Place chapati in pan and repeat rolling process.


When the bubbles get more prominent, flip the chapati.
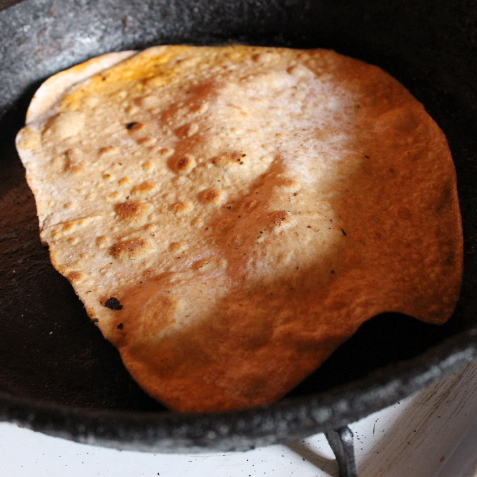
The chapati will inflate like a hot-air balloon. If it is not inflating, you can press down the edges with a towel. This seals any cracks and will allow the chapati to inflate.

I decided to give chapati making another go. The first time, the dough was too dry, but the chapatis came out alright. After that, they keep getting better and better!
You'll need:
2 cups Wheat flour
1 cup water
salt to taste
rolling pin
pan
oil
Make the dough:
Combine ingredients
Knead dough
Set aside
Time to make the chapatis:
Dust a little flour on your rolling surface. Heat oil in pan. You know it is hot enough when you sprinkle water on the pan and it pops.

Pinch off a golfball size amount of dough and roll into a ball. Place on dusted surface. Be careful not to burn the oil.

Gently press ball into disc shape.

Roll out dough.

For some reason, it seems to be helpful to turn the dough between rolls.

Place chapati in pan and repeat rolling process.

Allow air bubbles to form.

When the bubbles get more prominent, flip the chapati.

The chapati will inflate like a hot-air balloon. If it is not inflating, you can press down the edges with a towel. This seals any cracks and will allow the chapati to inflate.

No comments:
Post a Comment